
Simple Sewing May
For a reminder on how to pivot with your machine, there's instructions at the end of this page.
Zigzag Coaster
Supply list
Fabric scissors
Spool of thread
Batting/interfacing
Sewing Machine
Fabric Square 6x6
cut 1: Batting
cut 1: Interfacing (optional)
Fabrics
Cut two or more different fabrics into scrap triangle-ish shapes.

Zigzag Coaster


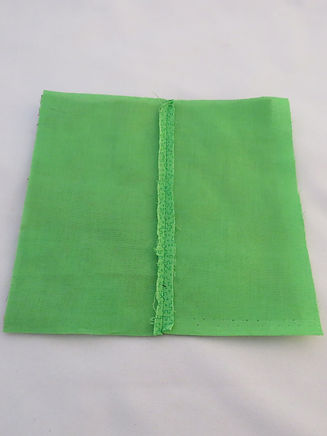
Because I used a matching scrap for the back, I sewed two pieces together to get the 6x6" square.
(1) Zig zag fabric scraps onto the 6x6" square piece of batting/interfacing until fully covered. Don't be afraid to overlap pieces.

(2) When the front is finished, cut out a 6x6" square from the backing fabric
(3) Put backing fabric and finished zig-zagged piece right sides together


(4) Pin, sew around the edge with a 1/4" seam leaving a 2" hole for turning.


(5) Trim corners.

If still too much bulk in the corner, trim on each side of the corner.

(6) Pull through the hole.


(7) Stay stitch 1/8" around the top edge or as close to the edge as possible.

Stay stitch will close the hole, or you can hand stitch the hole closed.

Finished!
With the pivot mantra
Without the mantra
The machine I used was the JUKI DX5 which has an automatic needle up/down button and pivot function. Therefore, the needle stays in the fabric, and my foot automatically raises every time I stop.
THROUGH PICTURES


Foot down, needle down

Backstitch


Sew, lift foot up, pivot fabric

Drop foot, sew, foot up, pivot, repeat...
Backstitch to finish

The End!